Tutorial 1- Build a Simple Metapage with Image Display
In this tutorial, you'll create your first metapage that allows you to upload and display images. This simple example will introduce you to the core concepts of metapages: creating a metapage, adding metaframes, and connecting them to establish data flow.
Getting Started
Once you've entered the metapage.io site and created an account, you're ready to begin.
Step 1: Create a New Metapage
Click on the "+ New" button at the top right of the metaframes homepage.

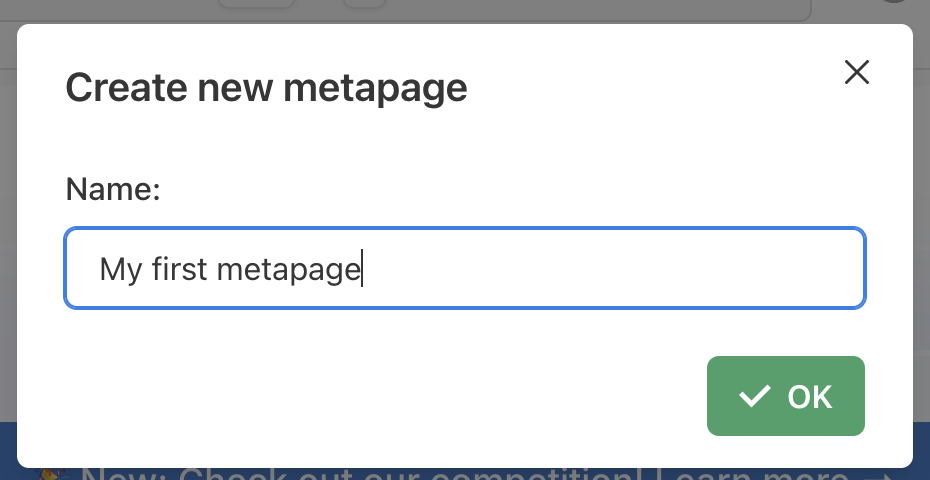
Step 2: Name Your Metapage
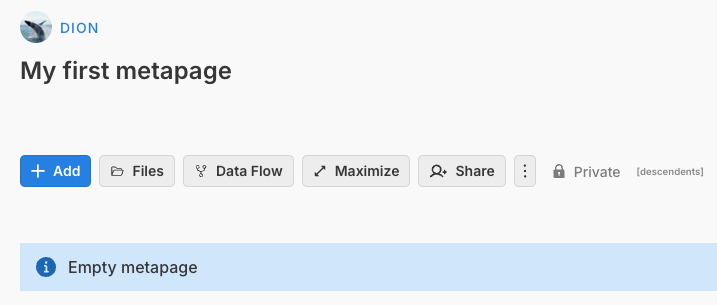
Give your new metapage a name. For this tutorial, we'll call it "My first metapage".
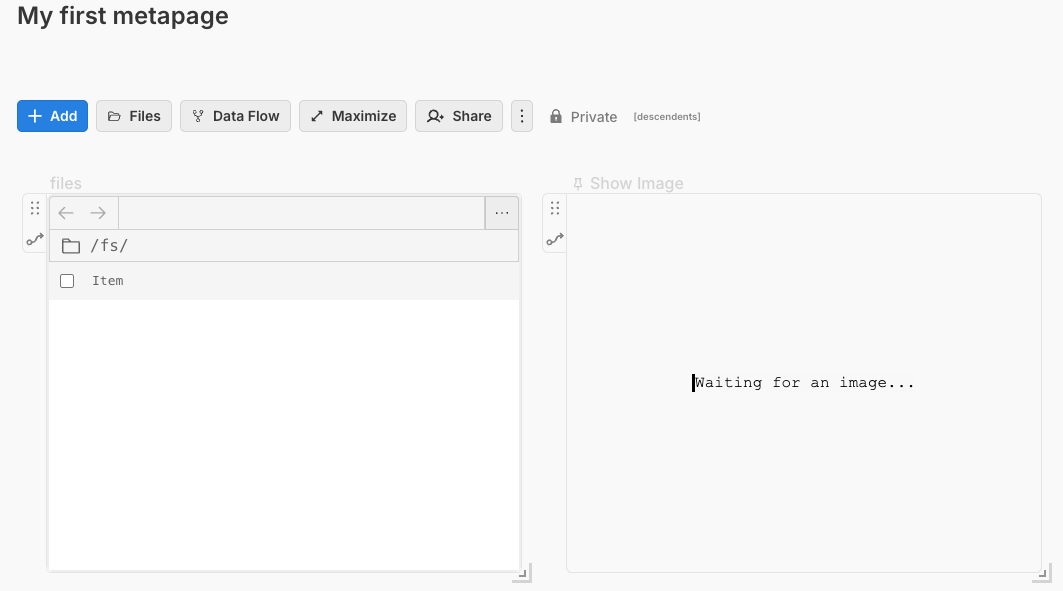
After creating your metapage, you'll see an empty workspace like this:
Adding Metaframes
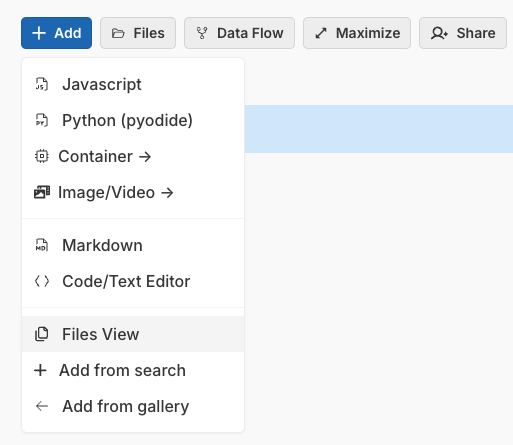
Step 3: Add the Files Metaframe
To upload and view files, we'll use the "Files" metaframe:
- Click on the "+ Add" button
- Select "Files View" from the dropdown

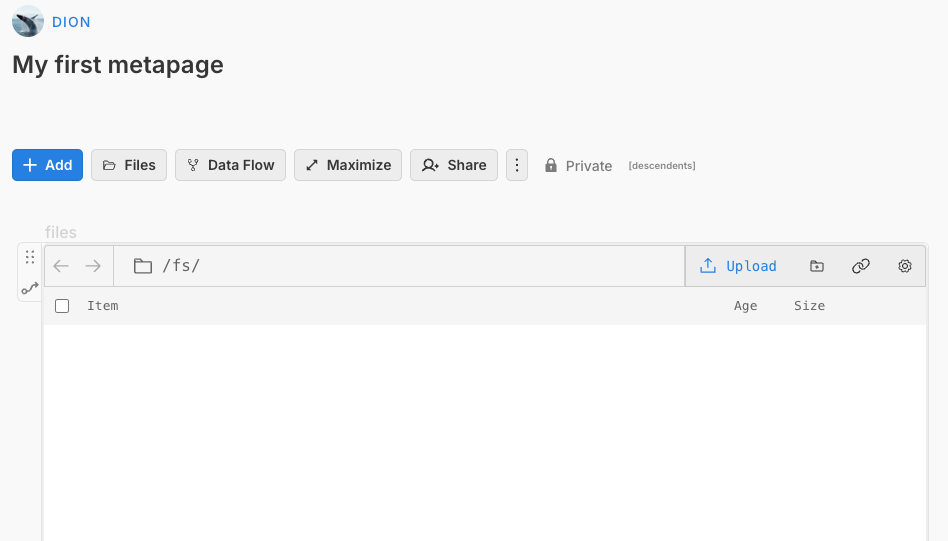
Step 4: Working with the Files Metaframe
The Files metaframe will now appear in your metapage. You can:
- Resize the metaframe by dragging the bottom right corner
- Reposition it by dragging the button on the top left side
- Access additional options by clicking the top-left button
Take a moment to explore these features.
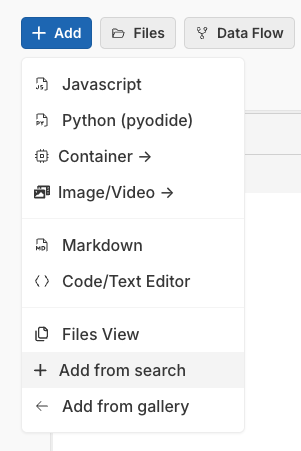
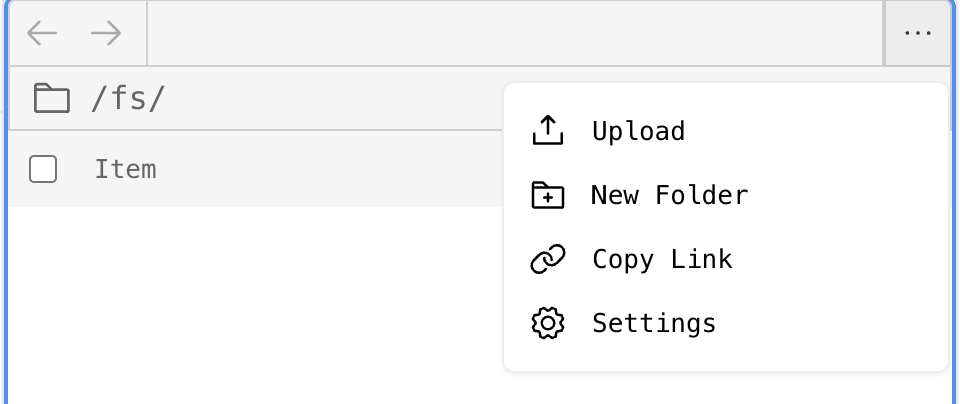
Step 5: Add the Show Image Metaframe
Next, we'll add a metaframe to display images:
- Click the "+ Add" button
- Select "Image/Video"
- Click "+ Add from search"
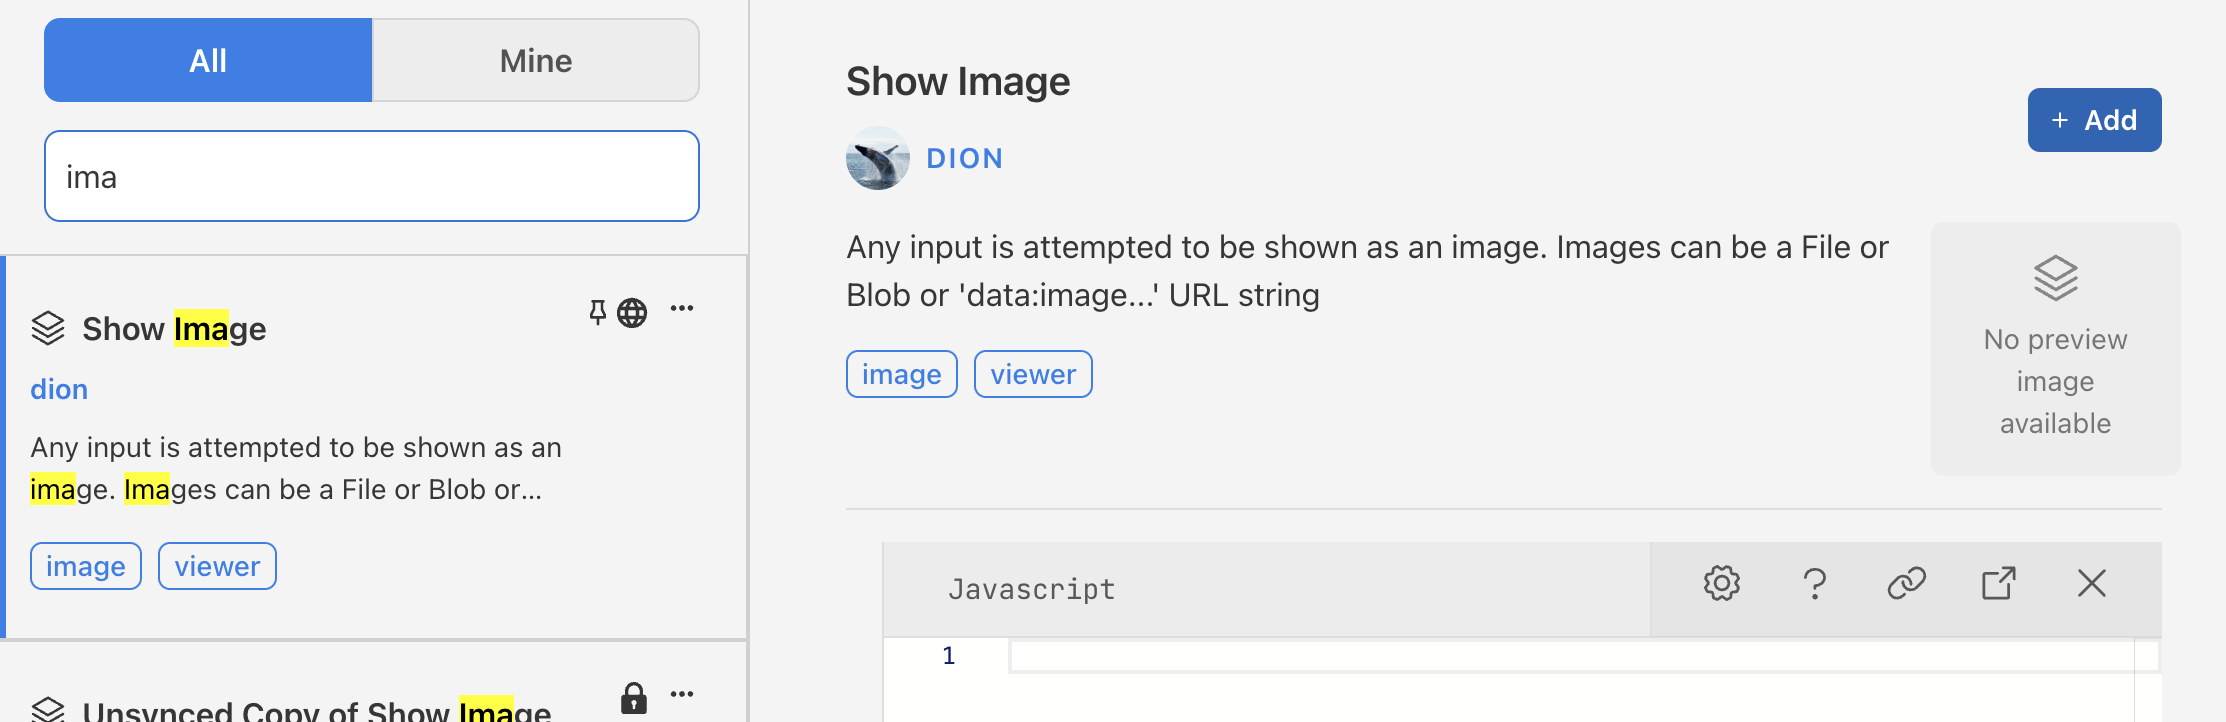
In the search, start typing “image”, when you see the metaframe below, select it:

Click the “+ Add” button
Step 6: Arrange Your Metaframes
Resize and reposition both metaframes so they're side-by-side in the workspace.
Creating Your Workflow
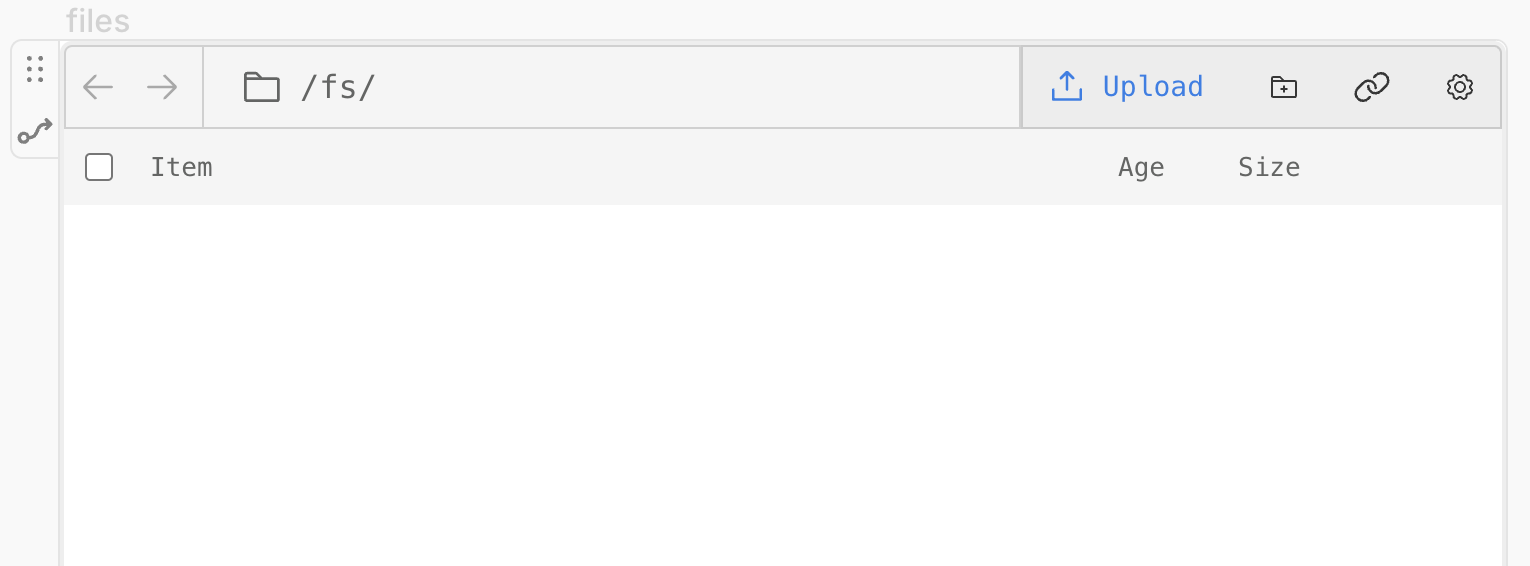
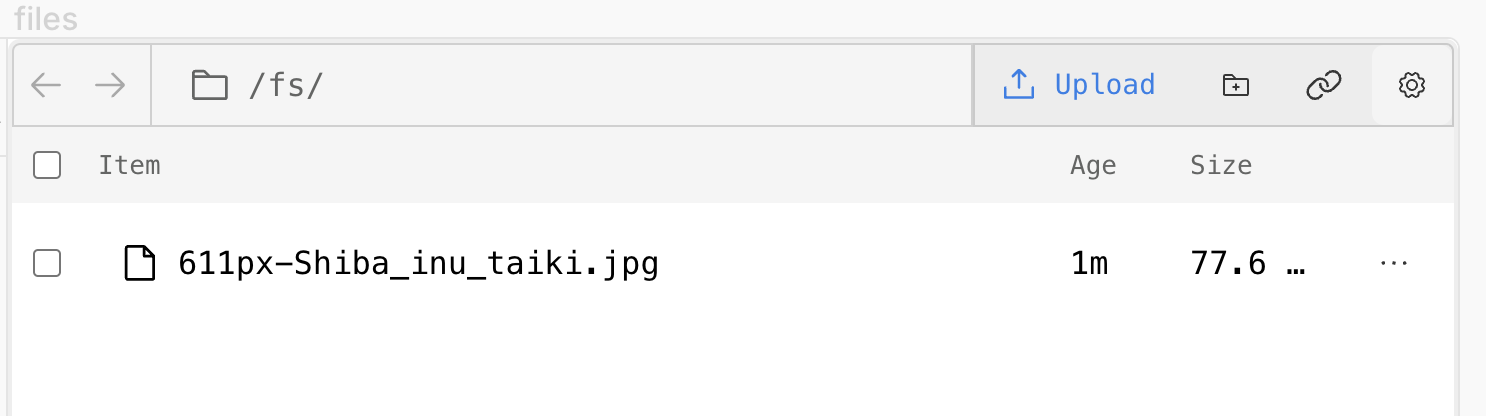
Step 7: Upload an Image
Let's upload an image using the Files metaframe:
- Click the upload button
- Select an image from your device
You can use this sample dog image we use here if you like.
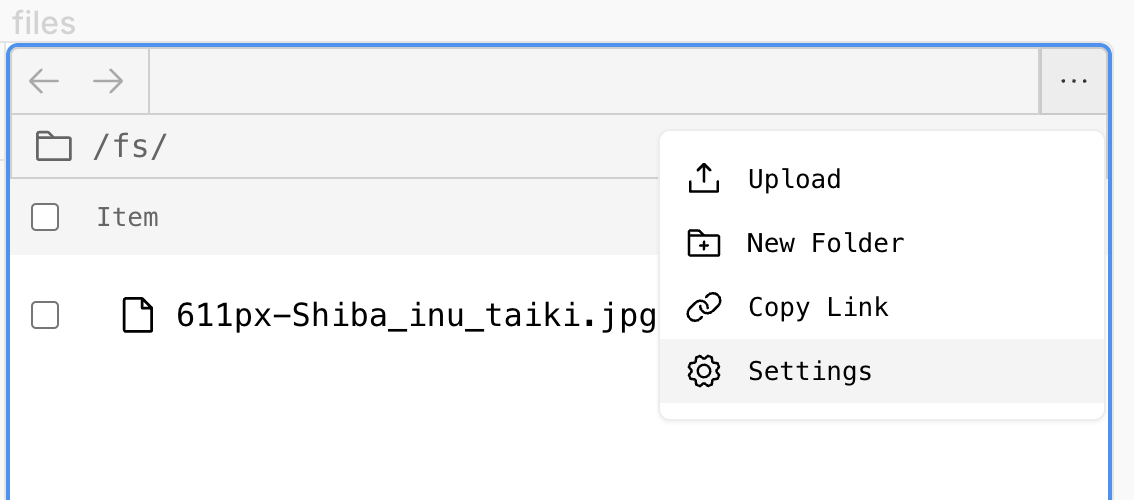
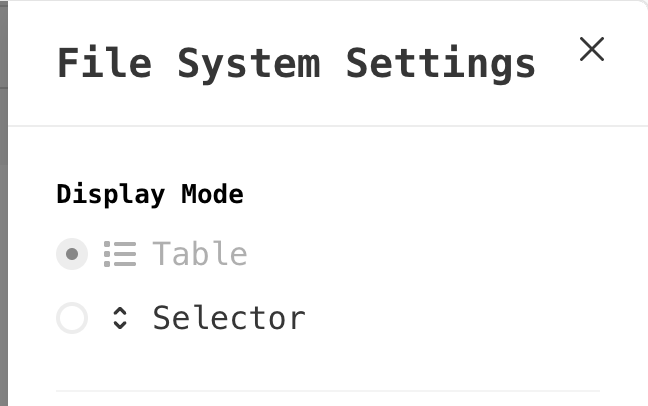
Step 8: Change the Display Mode
To ensure the correct file is sent, change the display mode to Selector:
- Click the gear icon at the top right of the Files metaframe
- Select "Selector" under Display mode
![]()
Step 9: Select Your Image File
Use the "Select file" dropdown to choose your uploaded image.

Connecting Metaframes
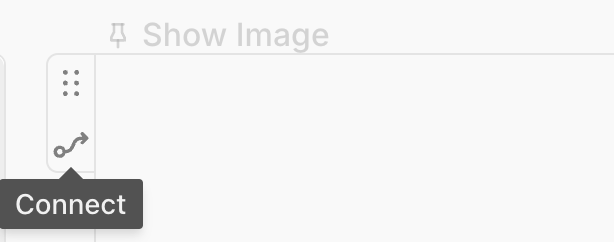
Step 10: Open the Data Flow Editor
The image isn't displaying yet because we need to create a data connection:
- Click on the "Connect" button in the
Show Imagemetaframe menu
- In the data connections editor, make sure
filesis in orange andShow Imagein green in the boxes on the top
- A dotted line points from
filestoShow Image, indicating the potential connection
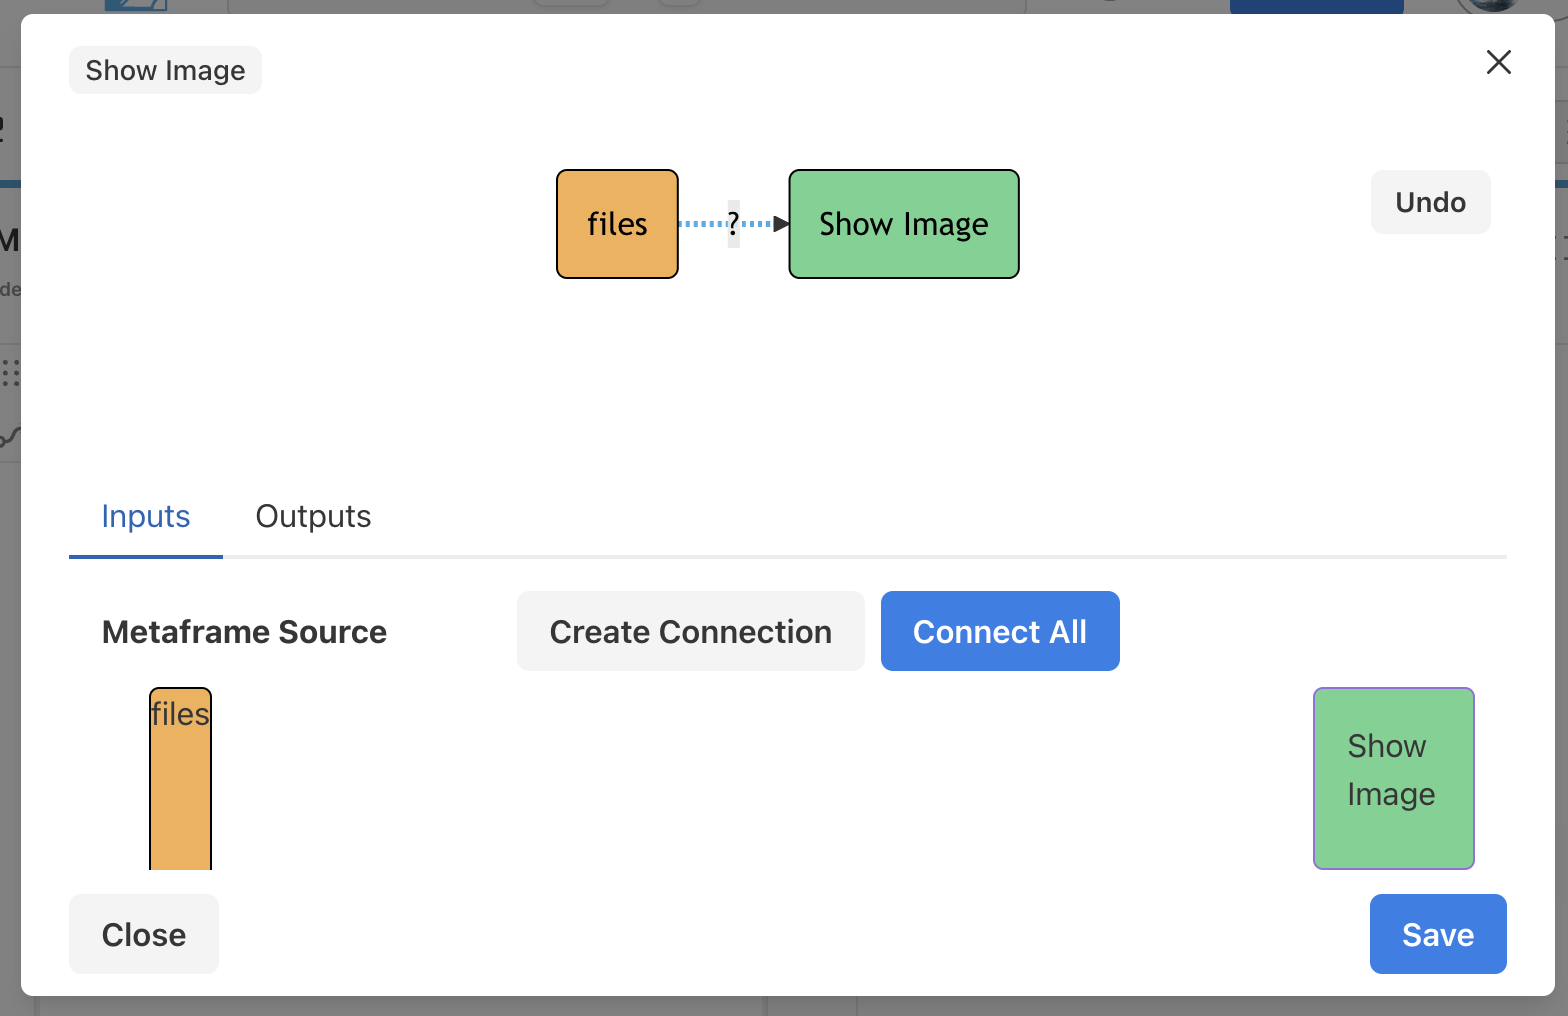
Step 11: Connect the Metaframes
To connect the metaframes:
- Click "Connect All" to send all outputs from
filesto the inputs ofShow Image - Click "Save" to save the changes and exit the connections editor
Click here for more about connecting.
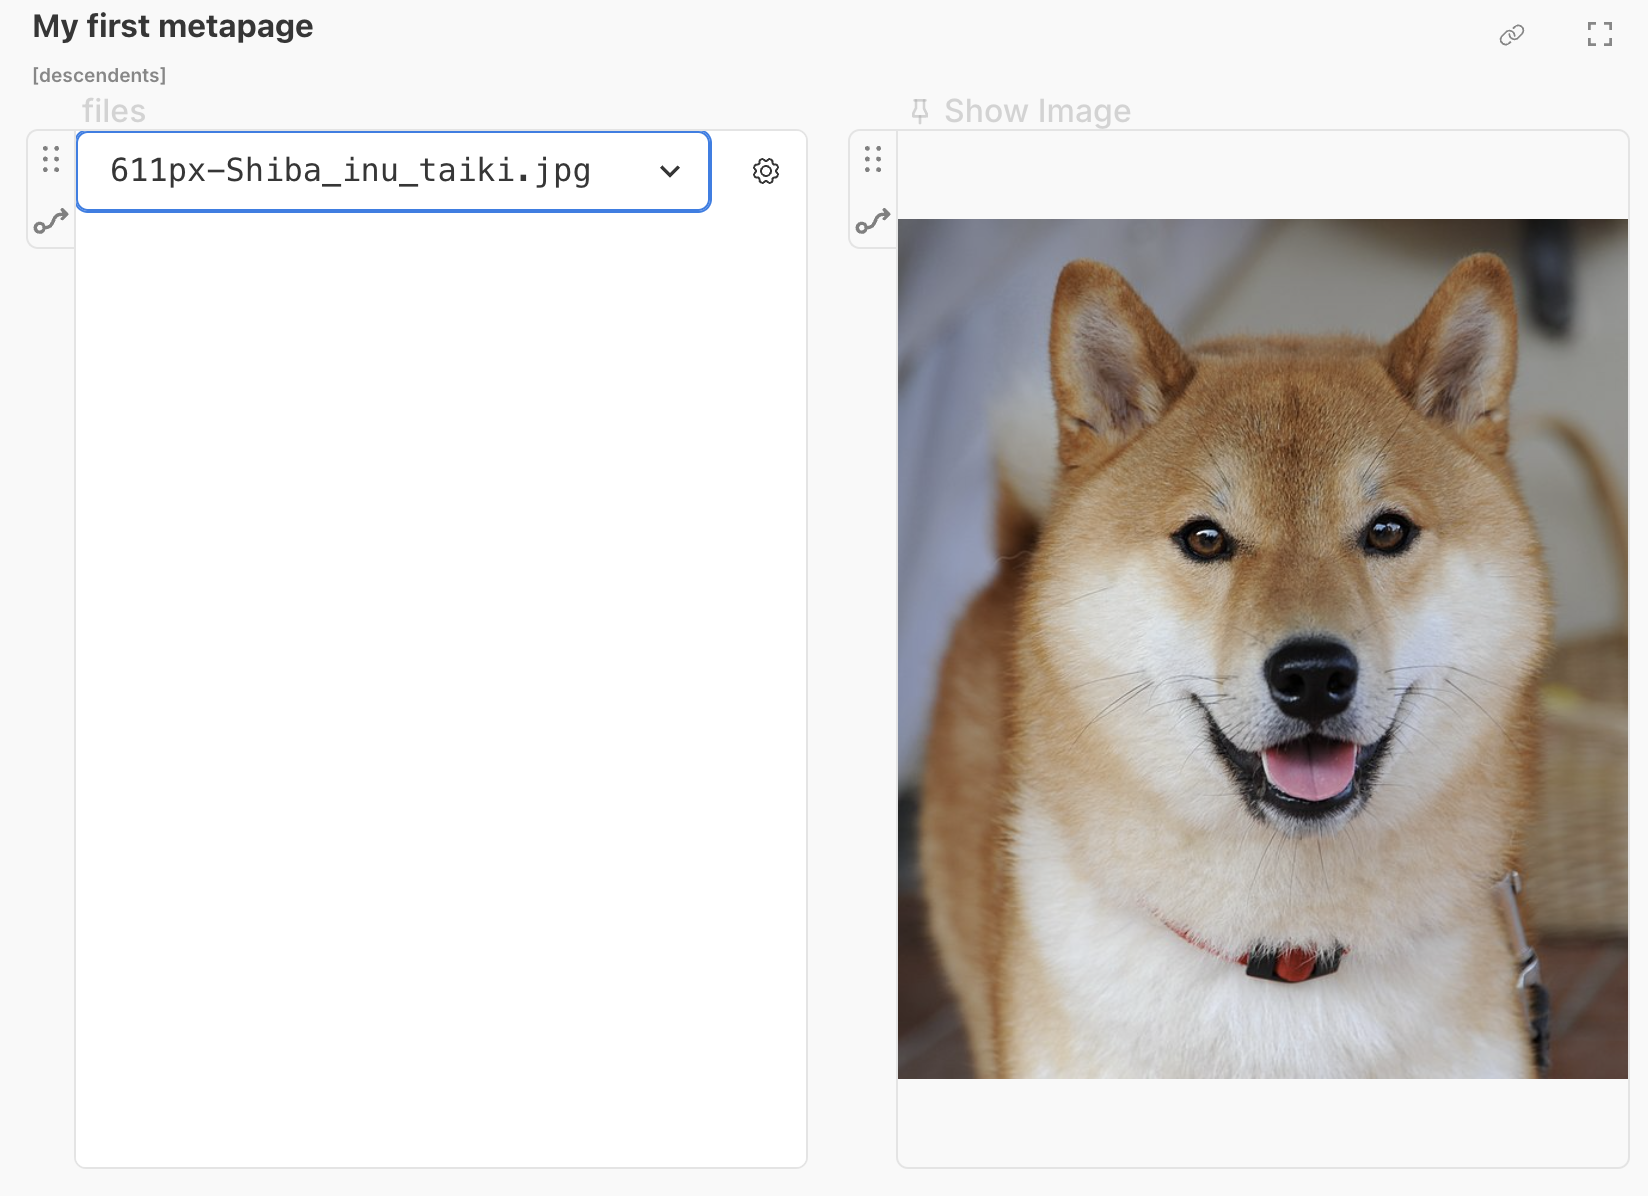
Step 12: View Your Image
Your selected image will now appear in the Show Image metaframe. Congratulations on creating your first functional metapage!
What You've Learned
In this tutorial, you've learned how to:
- Create a new metapage
- Add metaframes to your workspace
- Upload and select files
- Create data connections between metaframes
- Build a simple but functional workflow
Next Steps
In the next tutorial, we'll take things further by running Python code in a container, directly in the browser.