Running Python with Pyodide
Pyodide is a python package that allows you to run lightweight python code directly in the browser. This makes it perfect for simple applications where we want to run python code in a metaframe without having to use a docker container. In this walkthrough we will use python with pyodide to generate a plot and display the image it generates.
Step 1: From the metapage.io homepage, create a new metapage using the “+ New” button and giving the metapage a name. We call it “Pyodide metapage” here.

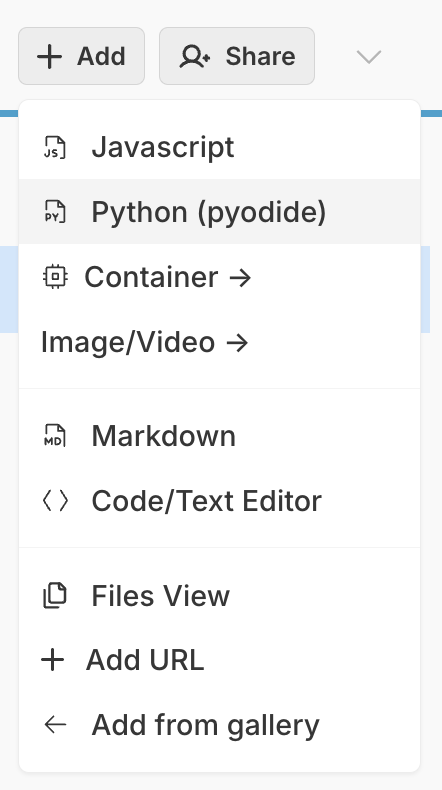
Step 2: Let’s add the “Python (pyodide)” metaframe. From the metaframes “+ Add” menu on the top right, select “Python (pyodide)” from the options. The pyodide metaframe should now display on the metapage.
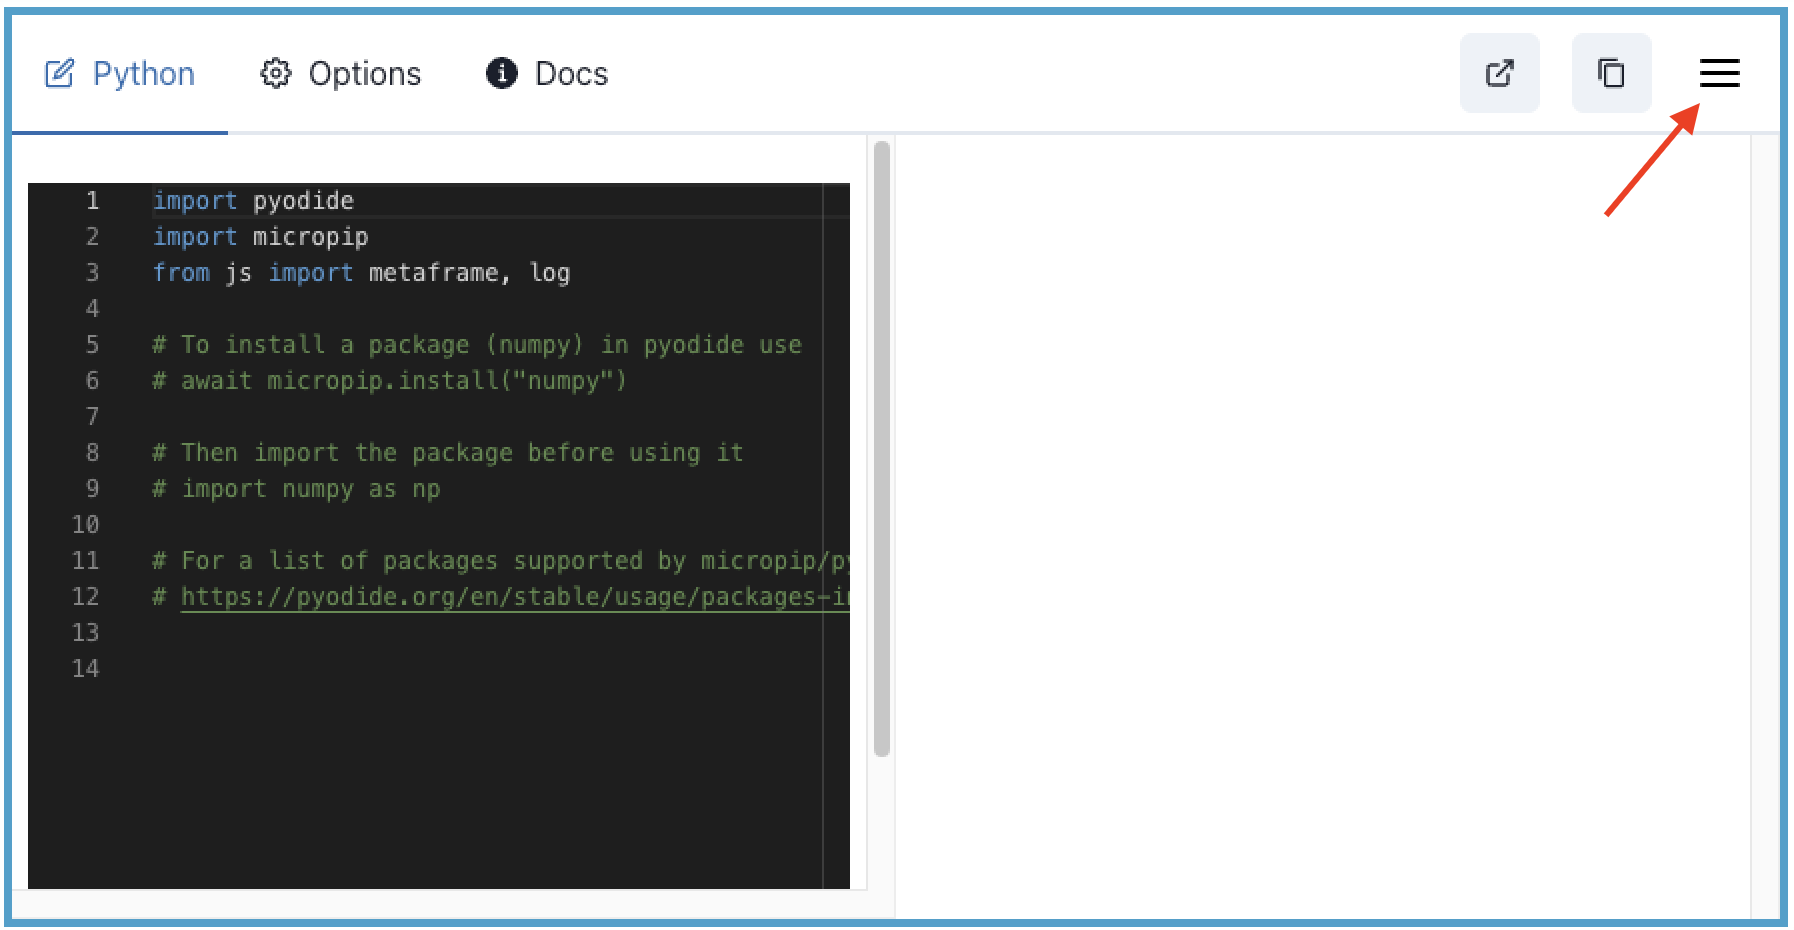
Step 3: Click on the menu button at the top right corner of the pyodide metaframe to view the python code, options, and docs for this metaframe. You will see some basic code importing packages and comments with instructions for installing and importing packages is already included.
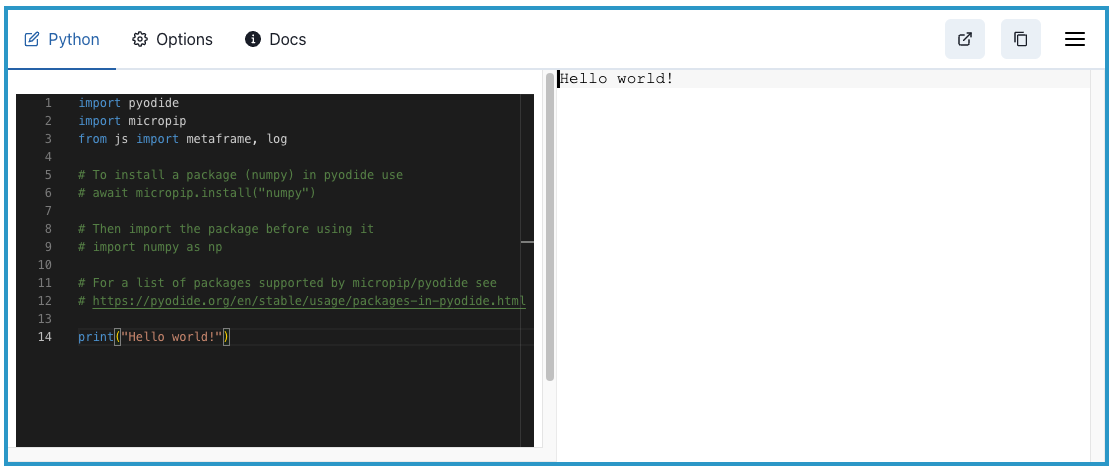
Step 4: Let’s write some python code now. Any code entered is dynamically run and the output is shown in the panel to the right. Try typing print(”Hello world!”) into the bottom of the script. You should see the text “Hello world!” appear in the right panel.
print("Hello world!")
Step 5: Let’s try another simple example. Create a for loop to print the numbers 0 to 9.
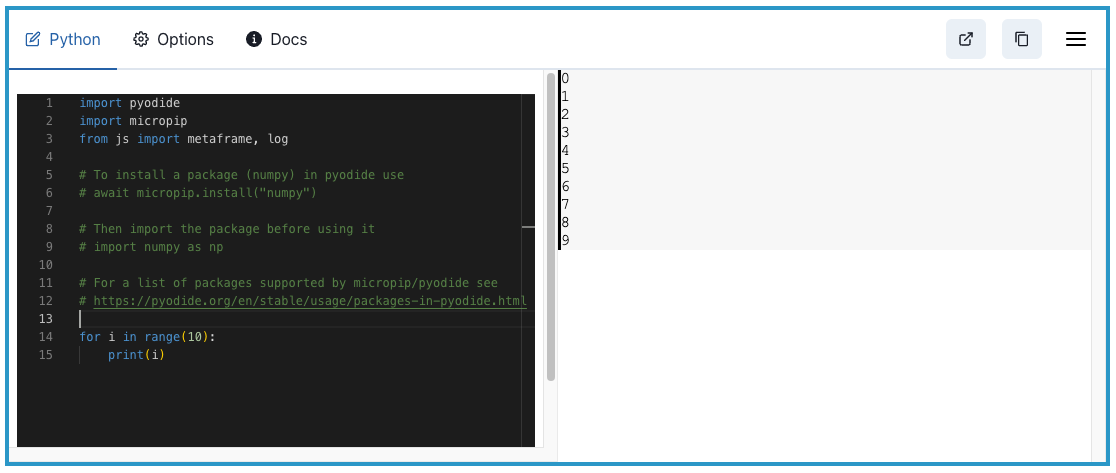
for i in range(10):
    print(i)
Step 6: Now that you’ve tried some simple examples, let’s do something a little more complex. We will generate some noisy data, export a plot and then view that plot with the “Show Image” frame. Enter the code below into the python editor of the pyodide metaframe. In this code we install and import the necessary packages, generate data points on a line with some noise added, create a plot of these points with matplotlib, and finally map the generated image to the metaframe’s output.
import pyodide
import micropip
from js import metaframe, log

# To install a package (numpy) in pyodide use
# await micropip.install("numpy")

# Then import the package before using it
# import numpy as np

# For a list of packages supported by micropip/pyodide see
# https://pyodide.org/en/stable/usage/packages-in-pyodide.html

await micropip.install("matplotlib")
await micropip.install("numpy")

import matplotlib.pyplot as plt
import io, base64
import numpy as np

# Generate data from a y=x line with noise
x_line = np.linspace(0, 1, 20)
y_line = x_line + np.random.normal(scale=0.1, size=x_line.shape)
#print(x_line, y_line)

# Create a scatter plot for the y=x line with noise
plt.figure(figsize=(10, 6))
plt.scatter(x_line, y_line, color='blue')

# Add labels and title
plt.title("Noisy Line Scatterplot (y = x + noise)")
plt.xlabel("X-axis")
plt.ylabel("Y-axis")

# Save the figure to a buffer and convert to base64
buf = io.BytesIO()
plt.savefig(buf, format='png')
buf.seek(0)
img_str = 'data:image/png;base64,' + base64.b64encode(buf.read()).decode('UTF-8')

# Send the image to metaframe output
metaframe.setOutput("image1.png", img_str)
log("Sent image1.png!")

# Close the current active figure
plt.close()
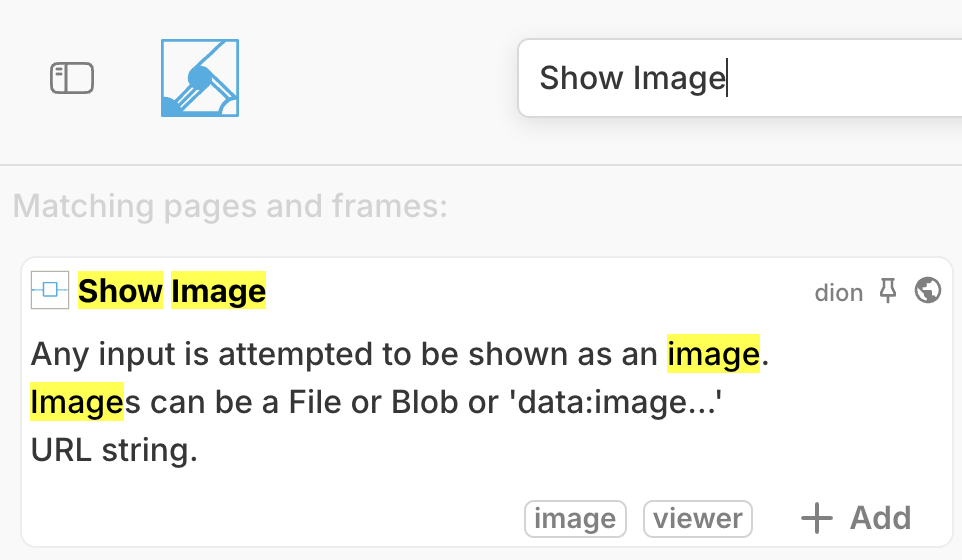
Step 7: If the code runs correctly you should see Sent image1.png! to the right of the code. Now if we want to actually view the image we need to create a “Show Image” metaframe and perform a data connection. To do this, use the search bar again to find the “Show Image” metaframe, and add it using the “Add” button on the desired result.
Step 8: Let’s make the data connection. Click on the “Data Flow” button on the “Python with Pyodide” metaframe. Ensure that the Outputs tab is selected and the “Show Image” box in the upper section is orange, then simply click on the image1.png box next to the source metaframe. This will create a connection that sends this file to the target.
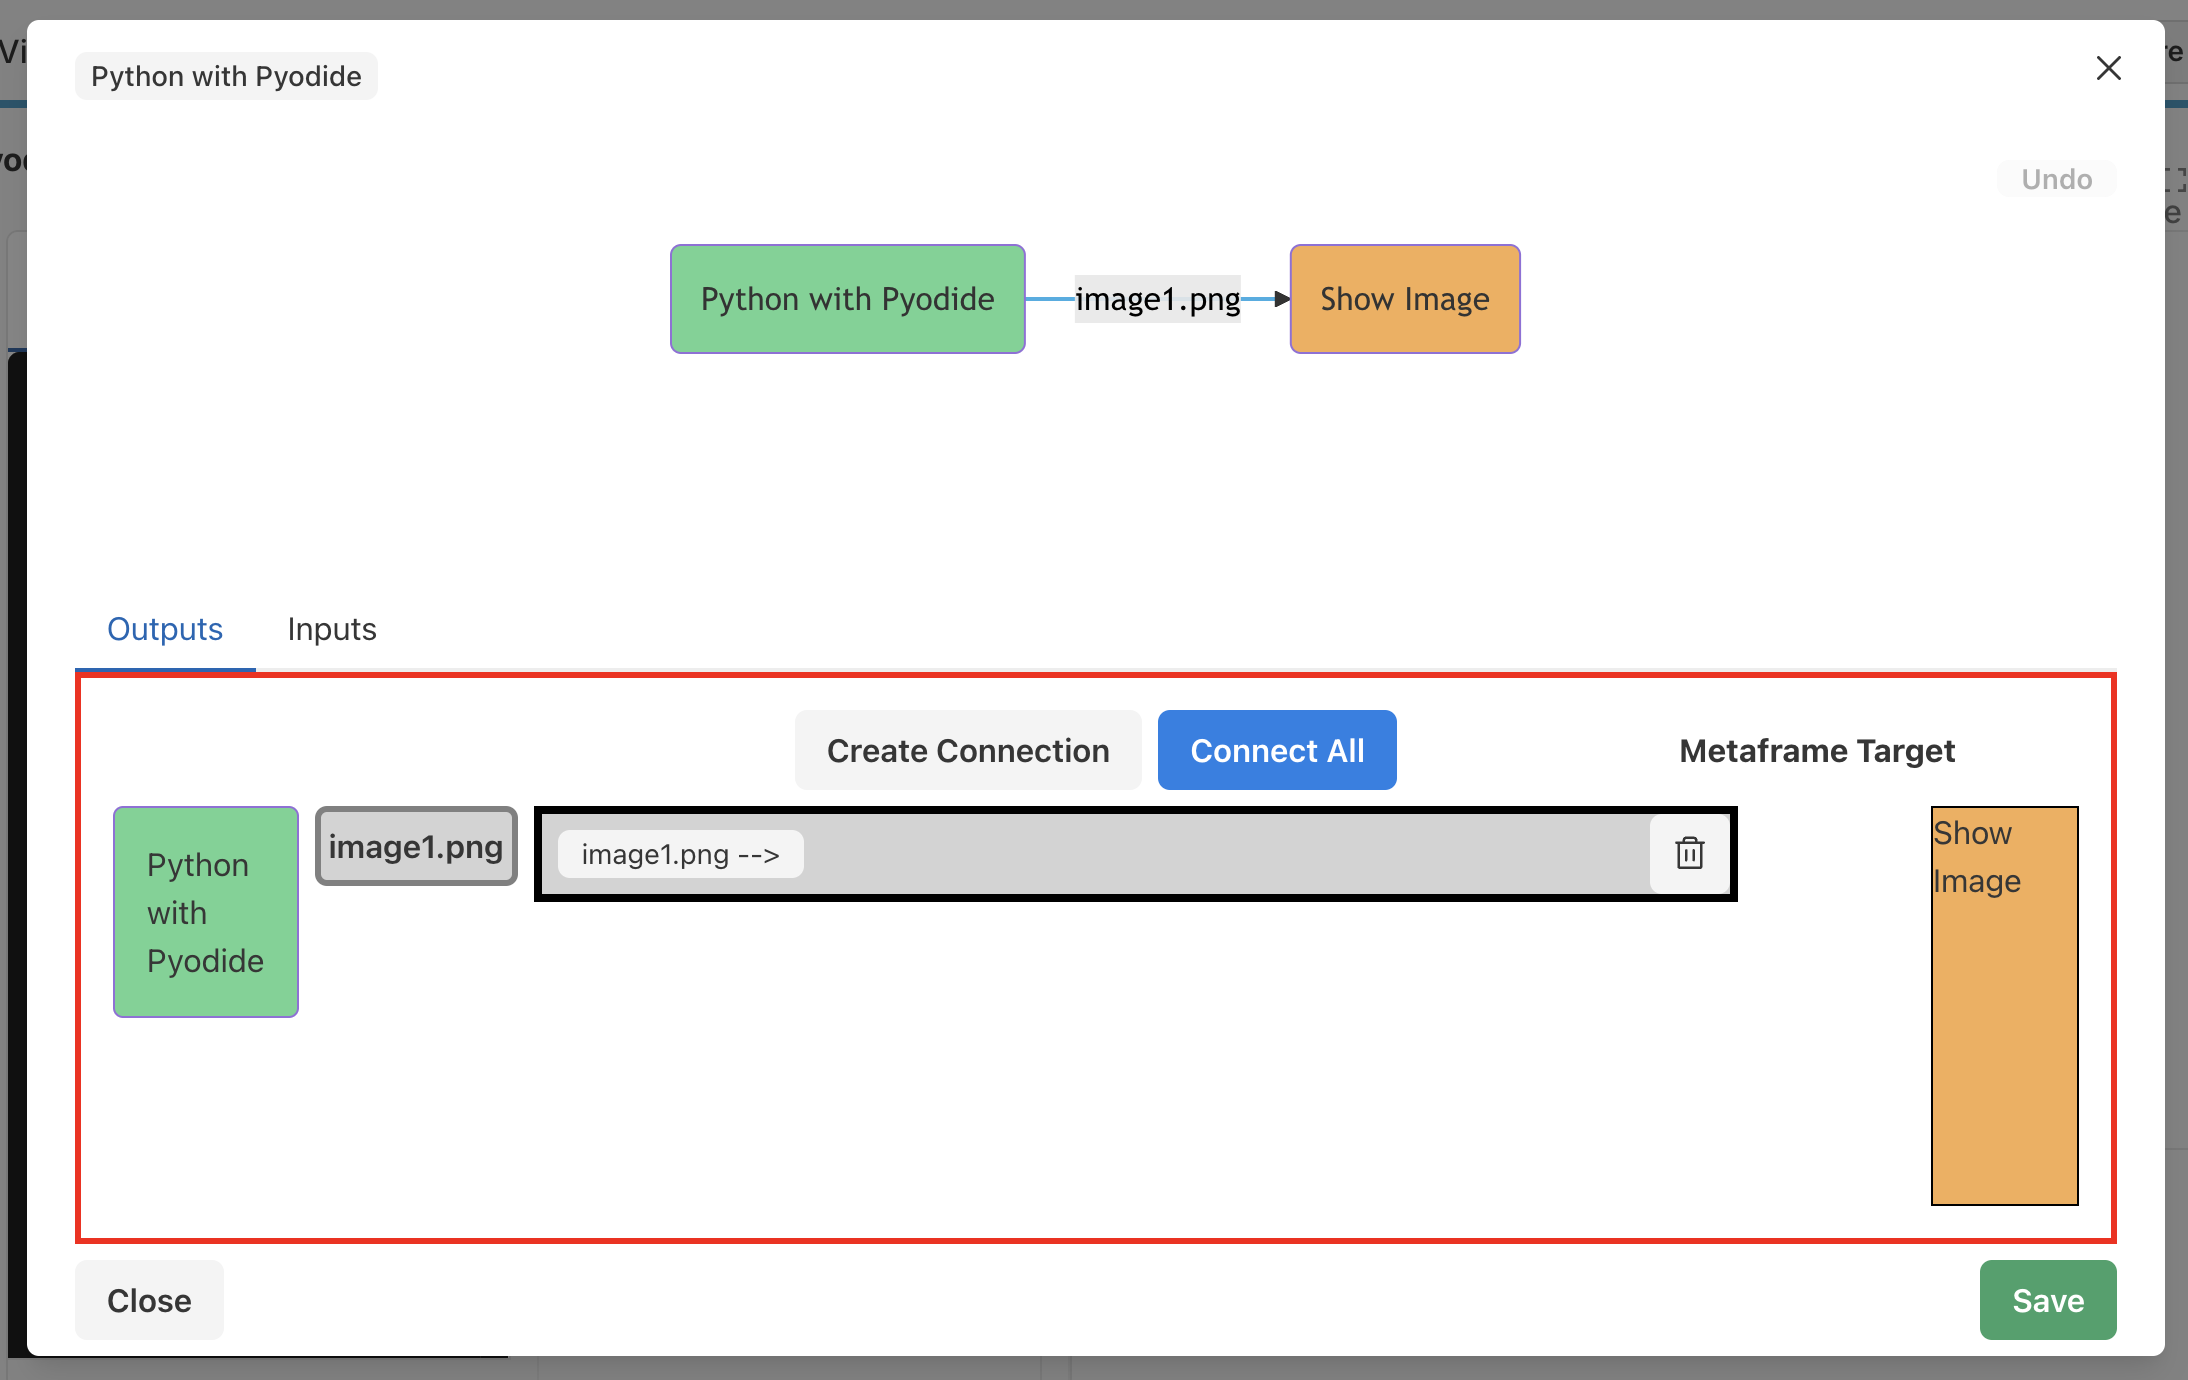
Step 10: Click Save. You should now see the plot displayed in your “Show Image” metaframe.
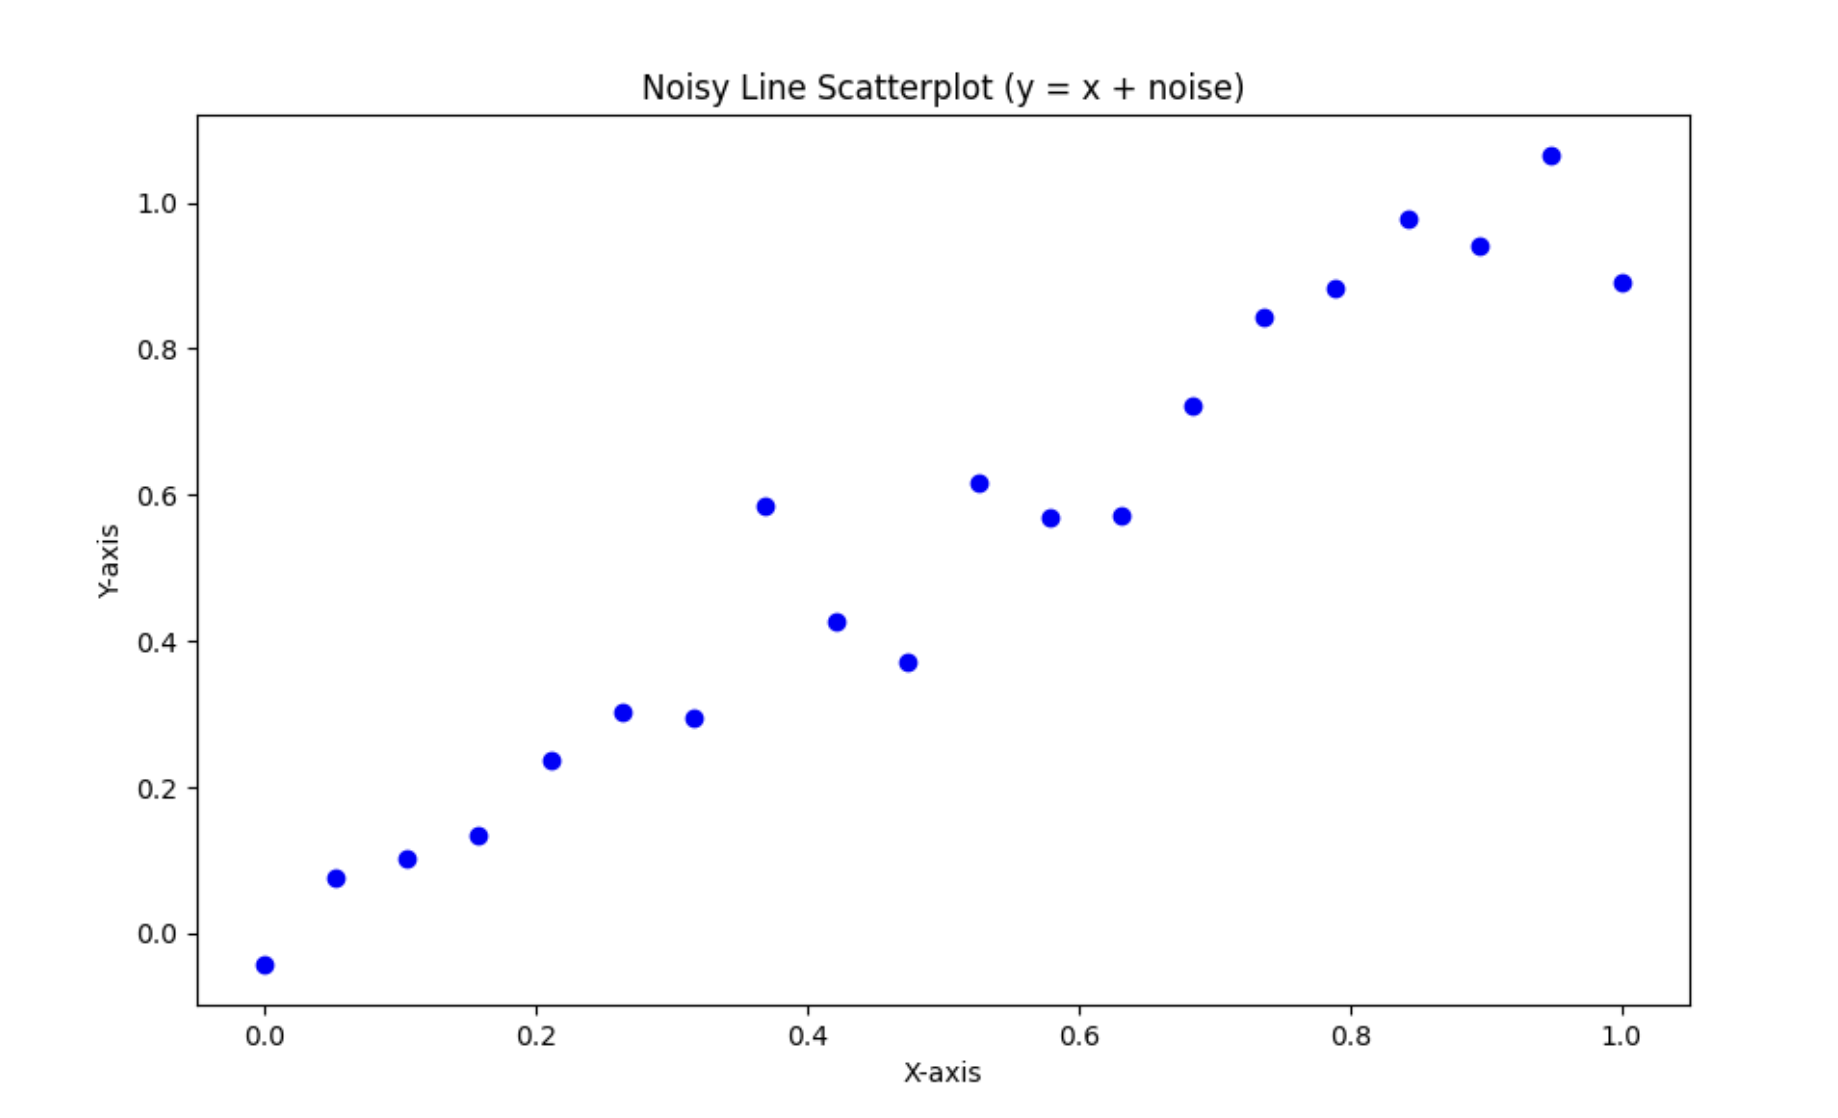
Congratulations on creating your first metapage that runs python code and displays a plot of its output! As we mentioned earlier, running docker containers in metaframes allow for a greater efficiency and range of applications. We will demonstrate how to use these in the next walkthrough.